Real DIY: How to build a cubby house


Do-it-yourself (DIY) projects are a great way to spend a weekend building something your family will love, or even add value to your home with your renovations. One DIY creation that Australians love is the humble cubby house. There are so many different shapes and sizes you can make, and your kids will play in it for years to come. It’s also a great way to connect with your little ones and get them involved in building something from scratch.
Remember, If you’re just starting out on your DIY journey, make sure you have an experienced hand nearby to help guide you on the right way to measure and cut your materials, how to build a solid foundation, and much more.
Ready to take the plunge and craft your very own DIY cubby house? Here are the all-important steps!
#1: Planning: Decide the size and style, and purchase the right equipment
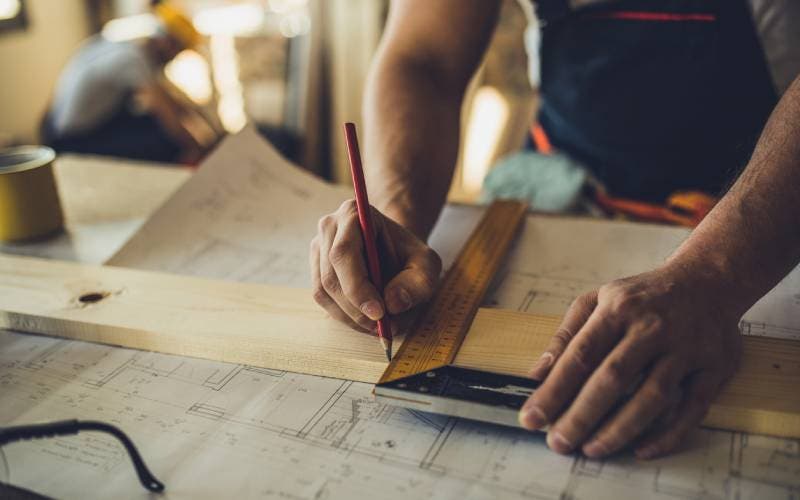
Before you even think about marking out a space in your yard where the cubby house will live, first you’ll need to settle on the specifics. How big will the cubby house be? How many levels will it have? Will there be additional equipment like a slide or swings? What materials will the cubby be made of? Once you answer those questions, make sure there’s enough space in the yard for the cubby of your dreams, then purchase all the equipment and materials you need to get the job done.
Don’t forget that DIY safety is of the utmost importance when starting out any new project. Make sure you prepare well and keep your personal safety front-of-mind throughout the whole process.
#2: Mark where the cubby house will be

Choosing a spot for your cubby is about more than where there’s enough space. Take into account whether there’s enough shade to keep the kids cool during summer, and also check that there’s enough room around the cubby to extend their play while outdoors – for example, having the cubby right next to a fence may hinder their playtime.
Once you’ve found the perfect spot, mark the site with corner pegs and join them all together with builder’s string so you can see just how much space the cubby will eventually take up.
#3: Build the floor frames
Just like building a full-size house, getting the foundation right is essential to a solid, stable cubby. Dig the corner stump holes (approximately 400mm deep and 300mm square) and place a timber sole plate at the bottom of each hole or pour in a 50mm layer of concrete.
Now it’s time to cut the floor frame’s materials to size. That includes the stumps, bearers, joists and sheet flooring. Ensure you have quality galvanised nails to build your floor frame as solid as possible.
#4: Building: Wall linings, windows and doors
After the floor is set, it’s time to get some height on your cubby house. You’ll want to cut the studs to the appropriate size for your project (these are the vertical pieces of timber, or whatever material you are using). Then it’s on to the top and bottom plates for your front and rear walls. Be sure to clearly mark where the studs will be spaced here, to help avoid any confusion later.
When it’s time to stand up the wall frames and nail them into the bottom plates, it’s recommended that you get some help from the kids (while practising good DIY safety) as they can hold it in place while you work. Wall linings can be installed now or after the roof has been made.
Don’t forget about windows and doors! If you’re planning on making these all yourself, it’s an easy way to keep the kids busy with painting and decoration while you handle the power tools.
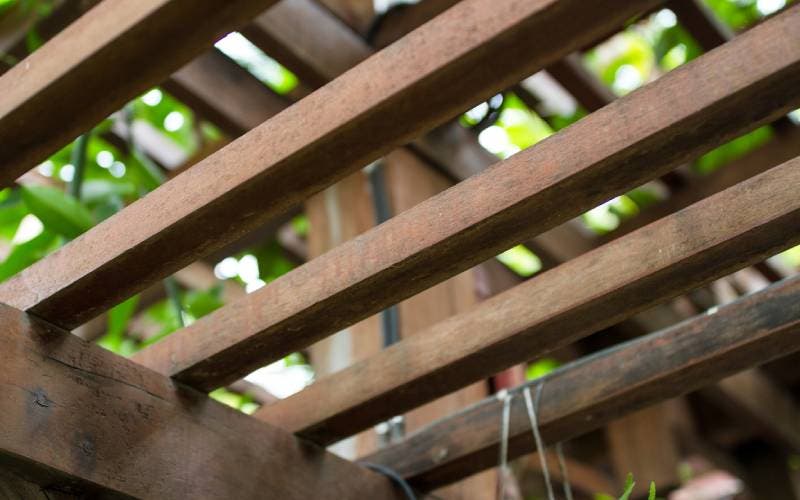
#5: Make the roof
Everything is starting to come together, and the final part of the frame is the roof. Cut the rafters to size and make sure there’s a good amount of overhang past the walls. Remember that your roof will be pitched so the rafters must be cut at an angle. A gang nail plate is ideal to keep your pitched rafters in place.
When raising the roof, make sure you have some help with you. Depending on how old your children are, it might be better to get another adult to support the rafters while you nail them into place. Next, cut and install the roof battens, and nail down the roofing material (e.g. corrugated iron) to finish off the ‘bones’ of your new DIY cubby house.
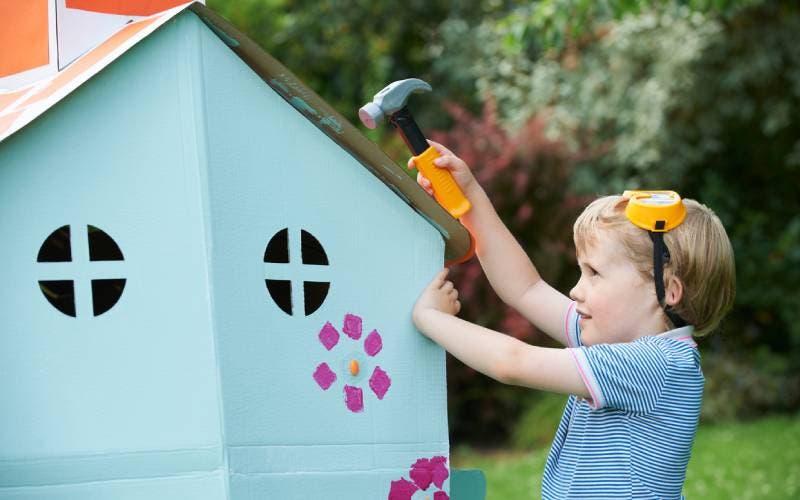
#6: Final touches: Furnishing and decorating

If your cubby doesn’t look as professional as the one pictured above, that doesn’t matter! The kids will love getting involved and when you start to put the final touches on your masterpiece, that’s when the real fun begins for them, as this is where the kids can really let their imaginations run wild. Let them choose the colour for their cubby, and get the whole family involved in painting, decorating and adding fun little pieces like furniture, window dressings and toys to keep them occupied during playtime.
Enjoy your cubby!
And that’s a wrap! Your very own cubby house built completely from scratch – with lots of love and help from the kids!
Even the smallest renovation can add value to your home – and that includes permanent fixtures like a brand-new cubby house. So, after a busy weekend spent working with your hands, make sure you update your home insurance policy so any of your latest value-add is covered. You can request a quote today or call us on 1300 620 269.
28 Feb 2022